


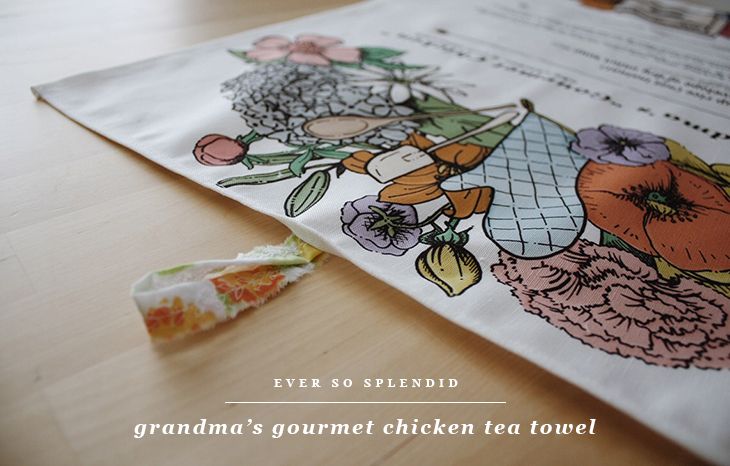
My mom recently sent me a bunch of copies of recipes from the family collection. One was very faded, but had the intriguing title "Gourmet Chicken". It is anything but gourmet. In fact, it is a classic comfort food I've always known as chicken and rice casserole. I was prompted by a weekly contest on Spoonflower to elevate it by sizing it for a tea towel. I illustrated a floral bouquet of some of my mom, grandma and great-grandmother's favorite flowers.
I received a yard (4 towels) of the printed linen in yesterday and I'm so happy with how they turned out. The pattern is now available here. It's pretty straight forward, but just in case you are a beginner, here are some step-by-step directions.
- 1 fat quarter of the Grandma's Gourmet Chicken pattern in Linen-Cotton Canvas (this is specifically sized for the width of the Linen-Cotton Canvas, this is important)
- 1 scrap of cotton fabric approximately 1" x 5" (I used a scrap of a vintage sheet)
- white thread
- bobbin threaded in white
- cutting mat
- clear plastic straight edge for cutting
- rotary cutter
- thread snips or scissors
- sewing machine
- iron and ironing board

- Gather materials needed, thread machine, heat iron, etc. Basically prep your workspace.
- Use your straight edge and the guides on your cutting mat to square up your tea towel. Make sure to leave about 1/2" of a border for your hem.
- Fold your scrap piece of fabric in half and press it. Select a decorative stitch (I used a leaf pattern) or a simple zig-zag stitch and sew along the entire length of your pressed scrap.
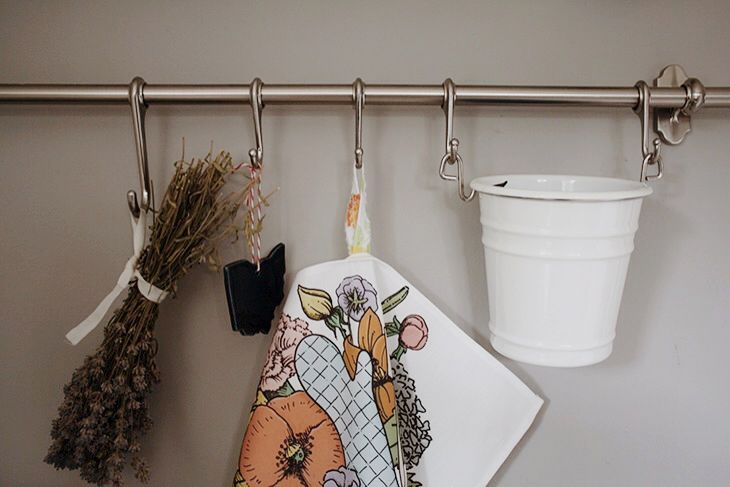
- At the top edge of your towel, press a 1/4" rolled hem. In the middle of the top edge tuck both ends of your scrap under the hem to create a loop for hanging. Pin in place.
- With a simple straight stitch sew across the entire length of the top hem. Make sure to remove the pin but keep both ends of the loop tucked under the hem.
- Next press the bottom hem and sew. Finish both sides last.

If any of the directions are unclear or you have further questions, please feel free to ask in the comments. I'm happy to clarify or provide sources for my favorite tools. Happy Mother's Day!


No comments:
Post a Comment